Scaffolding Working at Height
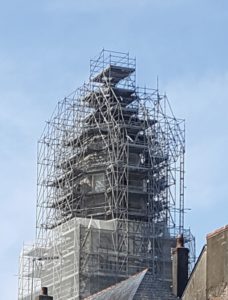 Working at height
Scaffolding should only be erected by qualified personnel who have undertaken training and gained a CISRS (Construction Industry Scaffolding Record Scheme) card.
Under no circumstances should any attempt be made to rectify any observed defects for example couplings that have become loose or broken or split scaffold boards must be reported instantly to the site Management Office and Health and Safety Officer.
Although there are different types of scaffolding products there are three which are generally referred to and are based on the same range of metal tubing and fittings.
Other scaffolding types: Birdcage scaffold - Independent/ Two Pole Scaffold - Putlog Scaffold - Cuplock and Kwikstage.
PPE Must be worn at all times when working at height.
Signwriting

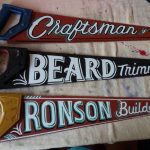


Signwriting & Heraldry
Today, the use of vinyl decals as an alternative to traditional signwriting is common place.
However, there is still a great demand for professional sign writers to carry out one off projects and this skill is available to decorators who have an artistic flare.
Signwriting is not only product of letter writing but also creative artwork including heraldry.
www.vimartsigns.co.uk - [email protected]
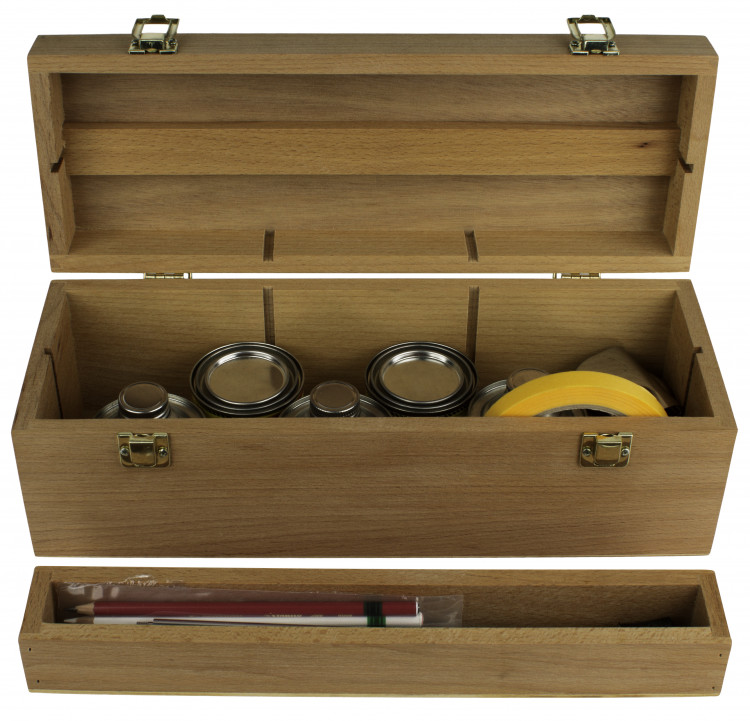
See: Sign writer's Tool Box.
Flaking Plaster/Rendered Surfaces
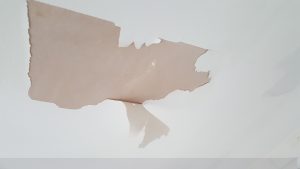
Flaking
Cause
The illustration is the result of the finishing coat of plaster being over polished leaving little or no porosity for the waterbased coating to key onto. It can be seen that there is no latent plaster adhering to the reverse side of the paint flake.
This can also occur when the first coat of a heavy pigmented paint is applied directly onto the surface without thinning to act as a sealer coat.
Remedy
Scrape back all loose material to a firm edge - dampen the exposed plaster with clean water and apply a fine plaster filler to the surrounding area. When dry, lightly rub down, dust off and apply a sealer coat of the waterbased paint followed by the required finishing coats.
Note : for face filling, fine ready mixed plaster filler is suitable.
MDF Sinkage of priming coat
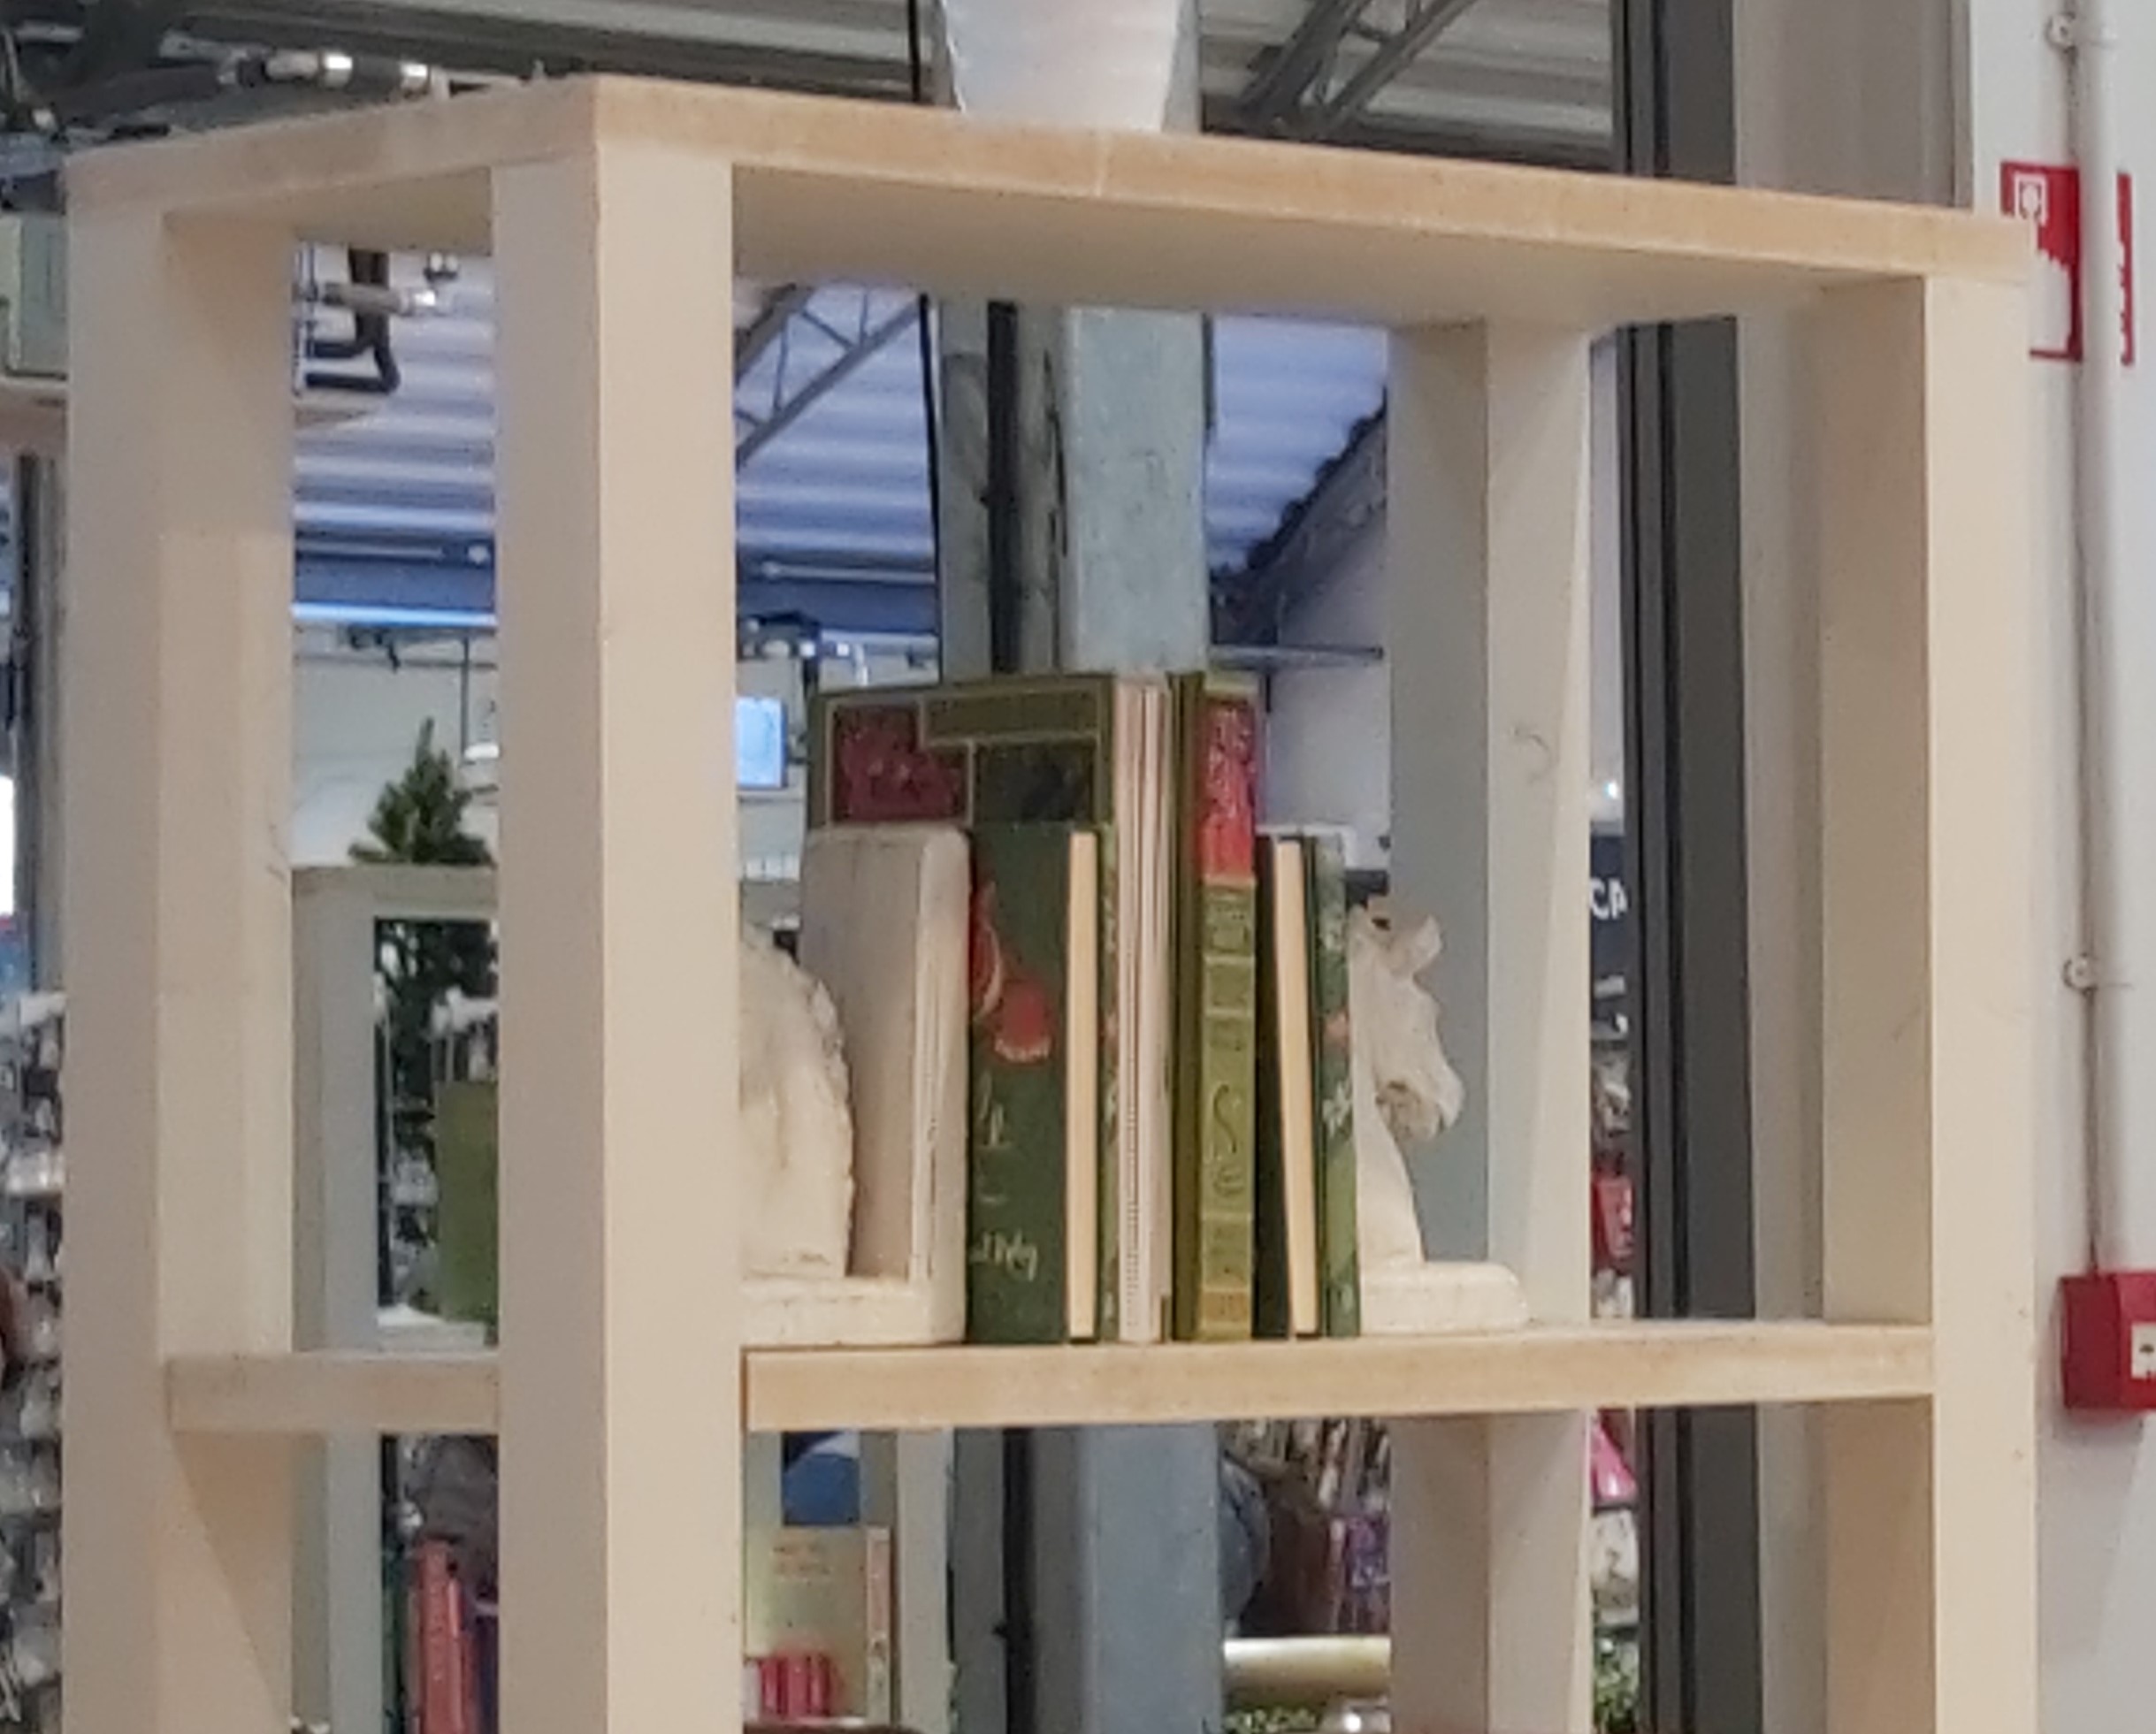
MDF (Medium Density Fibreboard Paint Sinkage)
Cause
MDF is manufactured by breaking down unwanted wood into fine fibres which are in turn mixed with resin and paraffin wax, followed by compressing the mixture under high pressure into panels.
MDF is a fine finishing board used extensively in the building industry and primarily for trim work such as door lining, architraves, skirting boards, window boards and moulded doors.
While the finished surface of the boards are smooth, the edges and any areas where trimming has been carried out, the finished MDF is coarse with an open surface.
Applying water-based primers can lead to several problems:
- The surface of the MDF may have residual wax present, which would result in poor adhesion onto the surface
- Depending on the MDF grade, the water content in the water-based primers could be absorbed into the surface and lift the wood fibres causing a rough surface
- Water-based materials will penetrate into the edges and bare moulded areas, and will not provide a sealed surface for finishing coats.
Remedy
Prime all bare areas with an oil based primer. This can then be over-coated with either oil based undercoats and finishing coats or acrylic water based finishes.
For construction, other grades are available: Fire-resistant grade is colour coded Red and Moisture- resistant grade is colour coded Green.
Health and Safety
As the MDF fibres are very fine, wearing a face-mask during sanding or cutting is advisable.
MDF Painting Specification
MDF (Medium Density Fibreboard) is used extensively for trim work such as architraves, skirting board. plain and panelled doors.
It can be supplied either untreated or with a factory applied priming coat.
If the priming coating is in sound condition can be overcoated with oil or water based undercoats and finishing coats.
Any damaged or raw areas should be re-primed using an oil based primer.
Painting system.
New MDF.
Remove by the most appropriate means all surface contamination. Lightly abrade the surface with medium grit 120 grade. Dust off and wipe clean with damp cloth and leave to dry.
Raw edges should be filled with suitable wood filler or a thin coat of a ready mixed fine plaster filler or drywall compound both of which are easy to sand down to give a smooth finish. After sanding and removing all surface dust, apply one coat of primer and recommended number of finishing coats in accordance with the selected manufacture's product information data sheets.
Note; Not all water based primers are suitable for MDF as they may cause the wood fibres to swell which would then be difficult to rub down to a smooth surface. Therefore check the manufactures recommendations before use.
PPE. As the composition of MDF is made from fine wood fires when sanding or cutting it is essential that a suitable face mask and eye goggles are worn,
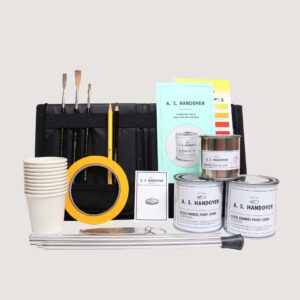
Marbling Toolbox
Basic Toolbox for Marbling
For further information on tools and materials:
http://www.handover.co.uk Tel: 020 7241 5877
Marbling Traditional Techniques
Marbling Traditional Techniques
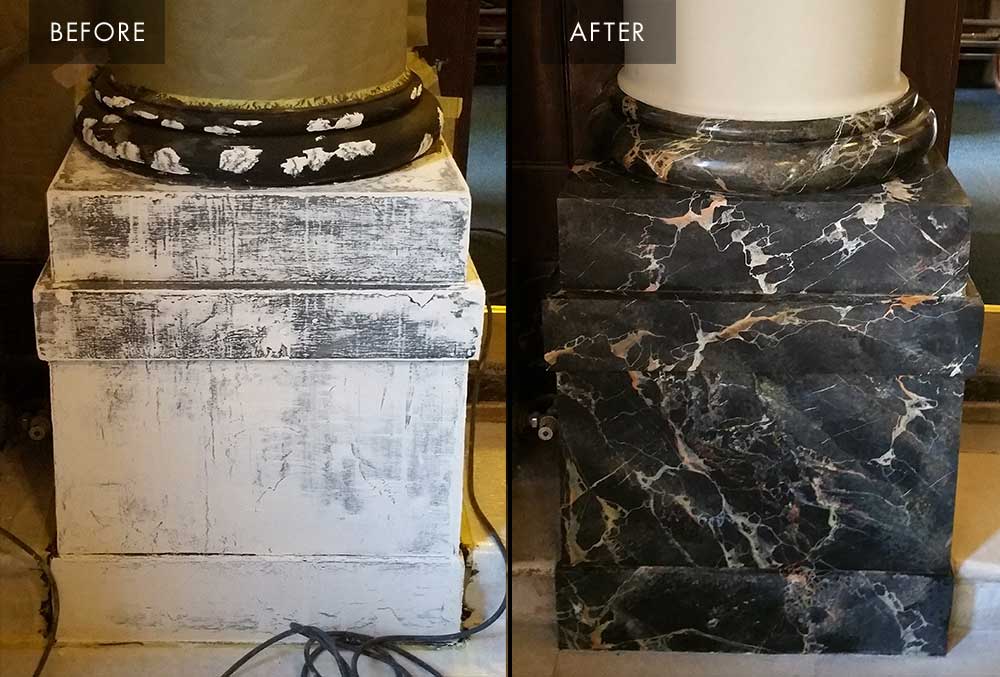
General
Environment.
Cleanliness and unrestricted work area is most important along with a dust free environment.
Surface preparation.
Ensure all loose defective material is removed back to a firm edge. Fill all surface imperfections with a suitable filler/surfacer followed by thoroughly sanding/rubbing down to a smooth sound finish.
One or two coats of an oil based ground coat, colour to suit and when dry lightly abraded with 1000 grade wet or dry to remove any surface nibs, rinsed with clean water and allowed to dry.
Apply selected scumble in accordance with the manufactures recommendations.
Note: All wet materials should be strained before us to remove any contaminants before use and all surfaces should be tack raged to remove any surface dust.
Basic steps for Marbling involves:
Onto the prepared surface take a quantity of scumble and add the appropriate colour stain as required, and brush apply to the surface in an uneven pattern scrubbing the coating out. Using a clean cloth or sponge dab onto the surface.
Repeat with a mixture of the next selected colour by applying the material in different areas in an uneven pattern followed by the softening process. Repeat as required. If thin vein lines are within the pattern either fine pencil brushes or the edge of a swan's feather dipped into the colour and applied at various thickness using the feathers edge, and repeat the softening process.
Full range of tools and material available from: https://www.handover.co.uk
Training centres for advanced Decorative finishes are available throughout the UK including: https://www.southcoaststudio.co.uk https://www.youtube.com/watch?v=JrdP8IY4F3Y&t=197s
Health and Safety
As solvents and rag are used it is important that all used rag/clothes are fully opened after use to allow the solvents to evaporate. Not doing this could lead to the combustion and a fire.
Graining Techniques System
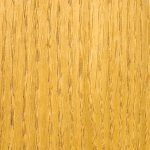 Selection of Different Wood Types
Light Oak.
White base with added Ochre. A little of raw umber is occasionally added.
Ready mixed ground coat colour NCS colour range 0030G90Y
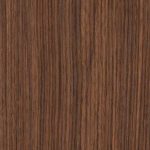
Dark Oak.
Yellow ochre, Venetian red and burnt umber added to a white base.
Ready mixed ground coat colour NCS colour range 2010Y30R
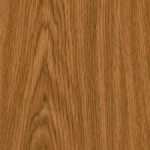
Medium Oak.
White base with added Ochre and slightly more raw umber than used for light oak.
Ready mixed ground coat colour NCS colour range 0030G90Y
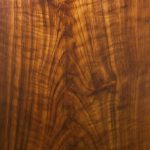
Walnut.
French Ochre, Venetian red to a white base.
Ready mixed ground coat from NCS colour range 3030Y70R
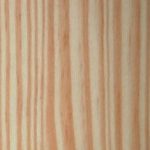
Pitch pine.
French ochre, Venetian red added to white.
Ready mixed ground coat colour NCS colour range 0030G90Y
Brush Graining. Health and Safety. Environment.
Cleanliness and unrestricted work area is most important to create as far as possible a dust free environment.
As solvents and rag are used it is important that all used rag/cloths are spread out flat after use to allow the solvents to evaporate. Not doing this could lead to combustion and fire.
Surface preparation
Ensure all loose defective material is removed back to a firm edge. Fill all surface imperfections with a suitable wood filler/surfacer and then thoroughly rub down with suitable abrasive paper preferably wet to leave a smooth, sound finish.
One or two coats of an oil based ground coat in the appropriate colour should be applied and when dry sanded down with 1000 grade wet or dry to remove any surface nibs, rinsed with clean water and allowed to dry.
Apply selected scumble in accordance with the manufactures recommendations and after completing the required grain design and when dry apply one coat of selected clear satin varnish.
Note: All wet material should be strained before use to remove any contaminates and before use all surfaces should be tack ragged down to remove any surface dust.
For further information on how to grain see: Graining Toolbox.
Spraying Conventional Air Spray
;
A conventional air spray unit operates byway of a remote compressor and a pressure pot the size of which can be between 5 and 15 litres.
As the operating atomising pressure is set to 2-3 Bar (1 bar =14psi) this causes considerable over spray dust. Therefore extensive masking up and ventilation is necessary.
In cases where small work is required then in place of a pressure pot a spray gun with either a gravity or suction fed pot is attached to the spray gun.
Spray painting setup.
Before commencing always read the manufacture's instructions for use and health and safety data sheets for both the equipment and paint products.
Ensure the work area is clear and free from obstacles, all preparation has been completed and areas not being sprayed are fully protected.
For air assisted spraying the type of compressor used is generally electric. However, note that on building/construction sites a 110 volt unit is required.
Procedure:
Connect the air line from the compressor onto the pressure pot and the air and fluid lines from the pressure pot onto the spray gun.
Place the mixed paint into the pressure pot and switch the compressor on and make sure that both the the air and paint fluid lines to the spray gun are also connected and open. Check the air pressure within the pressure pot is in accordance with the product data sheet. The air supply valve on the spray gun should be turned off. Aim the spray gun into an empty container, pull the spray gun trigger back and the paint should then uniformly flow out of the gun. Once satisfied that the flow is correct slowly open up the air line until the spray fan is as required for the work being carried out.
Spray equipment available from companies and merchants such as:
https://www.brewers.co.uk/search?q=spray+units
https://www.brewers.co.uk/stores
https://www./wagner-group.com/uk/contractor
Sales and servicing:
http://www.tradepaintservices.co.uk/contact
